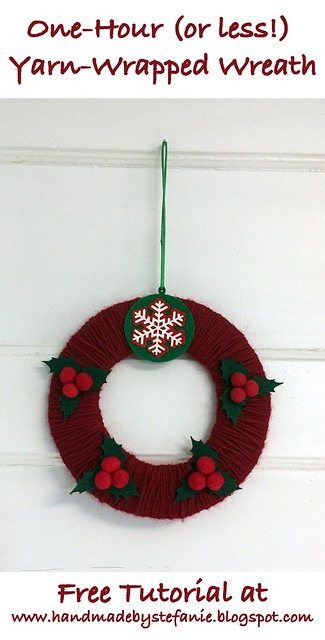
I love making projects to add to our holiday decorations each year, but lately I've found myself short on crafting time. Luckily, this project can be completed in under an hour, making it a great last-minute addition to your festive decor! You can make it in virtually any size you like and customize the look by varying the felt shapes you choose.
 Supplies:
1 skein Kartopu Alpaca Polo in Claret
Several die-cut felt pieces in holiday shapes - I used pre-cut holly leaves/berries and a felt snowflake ornament**
Fabric Glue or Hot Glue
Scissors
Marker
Tapestry needle
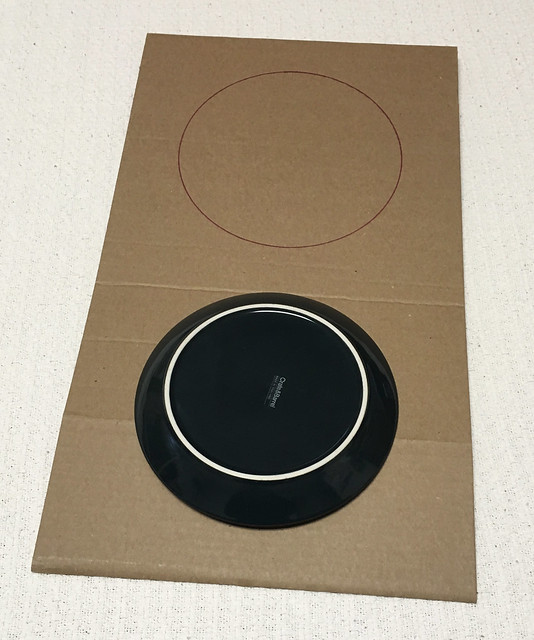
Small sandwich plate (the one I used was 8.5 inches in diameter)
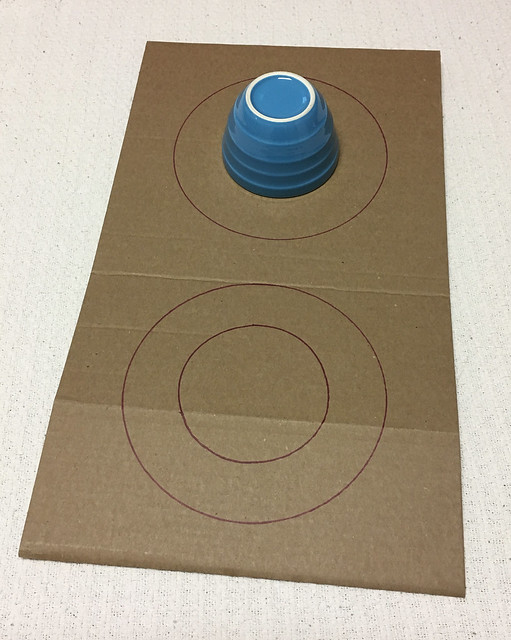
Small bowl (the one I used was 4.5 inches in diameter - make sure that you can pass your yarn through an opening of this size)
Cardboard (to fit largest size of plate/bowl)
**A note about the felt pieces: Between now and the time I was planning this project a few months ago, the place where I sourced these felt elements has discontinued making them. Bummer, right? After a quick google, I did find a few promising places to check out, though it should be noted that I have not used any of their items or shopped their site, so I can't speak to the quality/customer service of any of these businesses. Busy Little Bird has several holiday-ish shapes (snowflakes, holly (some assembly required), reindeer, and Christmas lights. Craft Dept. also has several options (snowflakes, ornaments, Santas, etc.).
Directions:
1. Use plate and bowl to trace wreath shape with marker.
 2. Cut out wreath shape; I recommend using some pretty good scissors, because these tiny child-safe ones I used were not super great for dealing with stiff cardboard. I got a hand cramp!
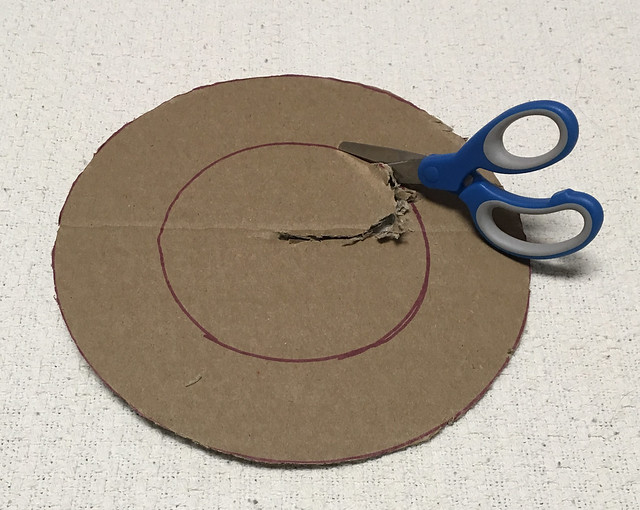
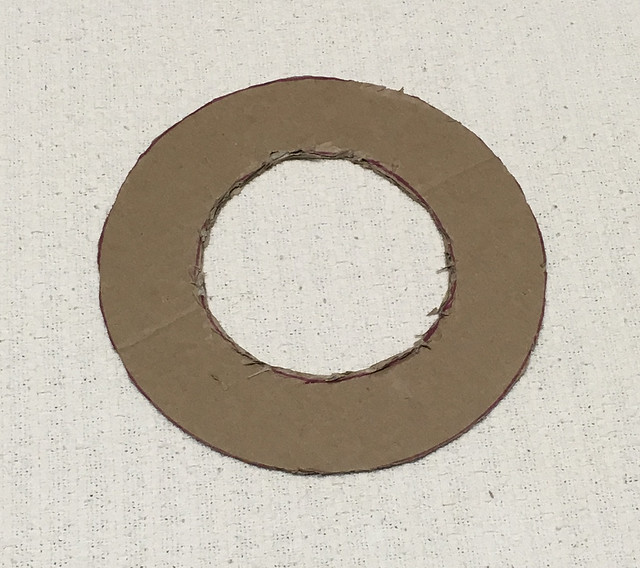 Tip: Don't worry if the edges are a little rough, the yarn will hide a lot of imperfections.
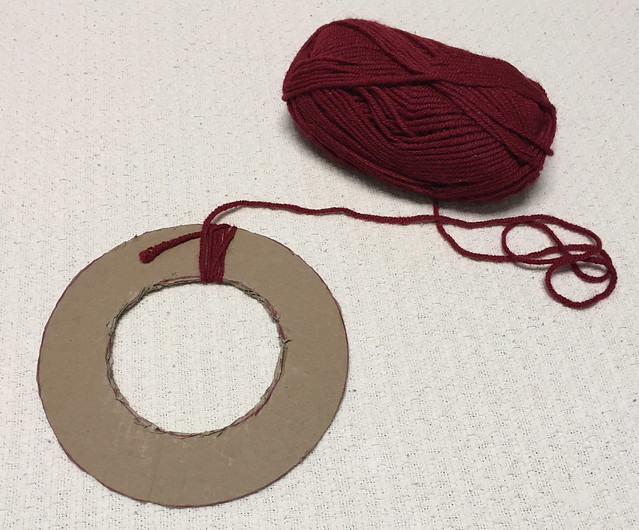
3. Begin wrapping yarn around the cardboard, positioning starter tail like so:
4. This will secure the starting end of your yarn so that you don't have to weave it in later. Continue around the shape of the wreath, wrapping several times to fully cover cardboard. Yes, it's a little boring and repetitive, but totally worth it!
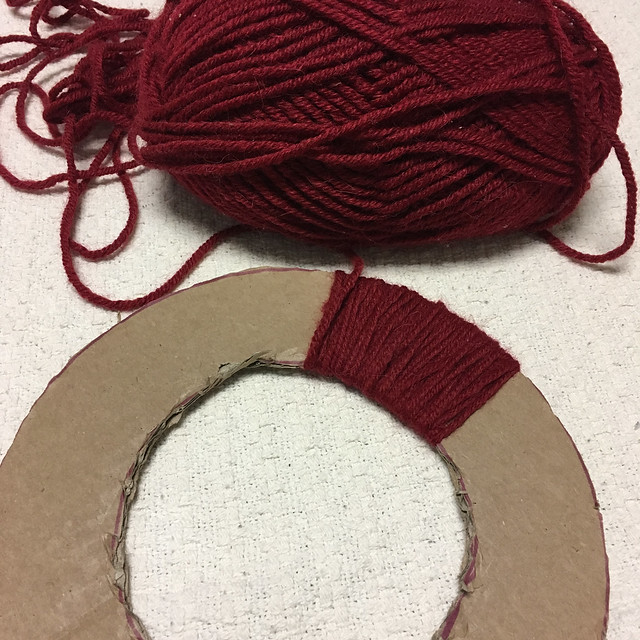
Tip: Try winding your yarn into a more manageable cake (for this size, I only used about half of the ball of yarn).
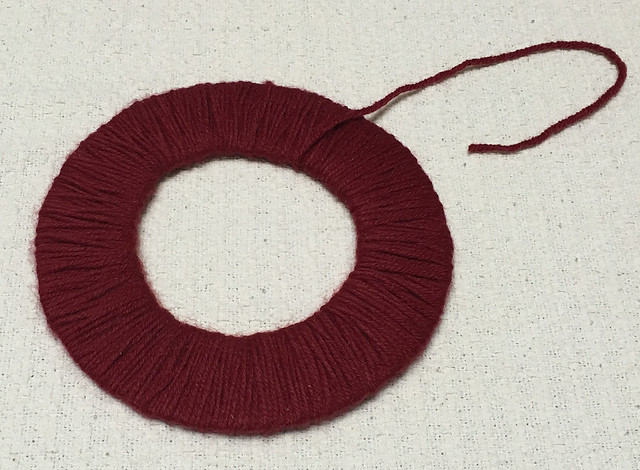
5. When you get to the end, cut a long tail, and then thread on a large blunt tipped tapestry needle.
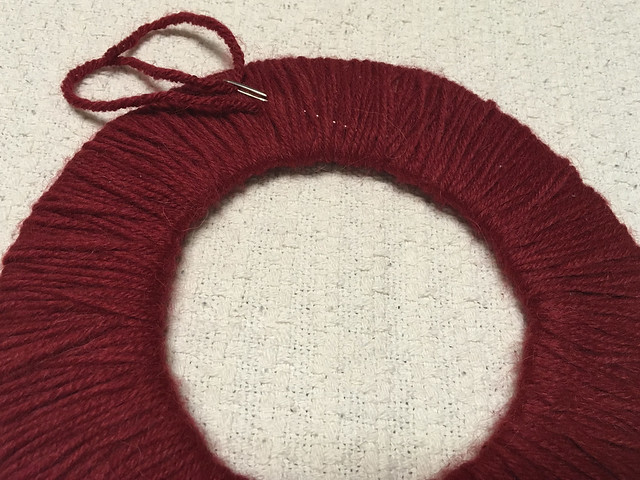
6. Weave it through the yarn on the back of the wreath like so:

7. Then weave the yarn back the opposite way to secure like so:
8. Cut yarn end. Now it's time for the fun part! Position your felt pieces wherever you'd like them, then glue on with fabric glue (or hot glue, if preferred). I used the snowflake ornament to also double as a hanger at the top!
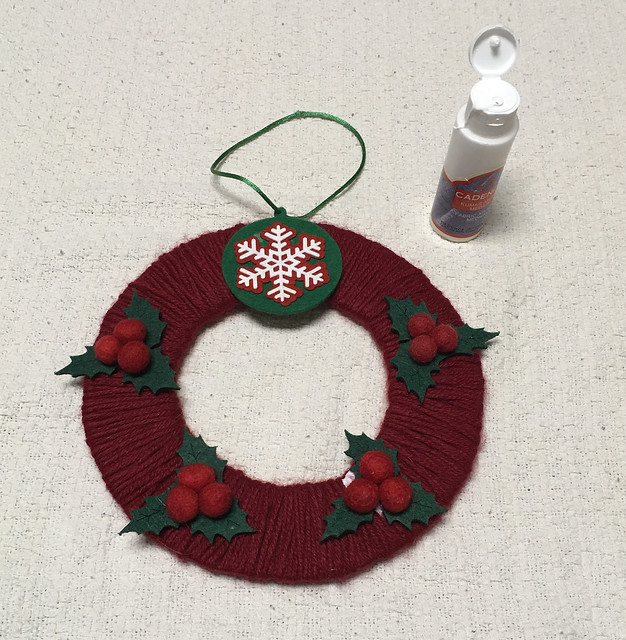
Tip: I used a LOT of fabric glue (as in, way more than I thought was necessary) and then applied gentle pressure for about 30 seconds for each piece.
9. Allow to dry overnight under a heavy book.
10. Hang and enjoy!
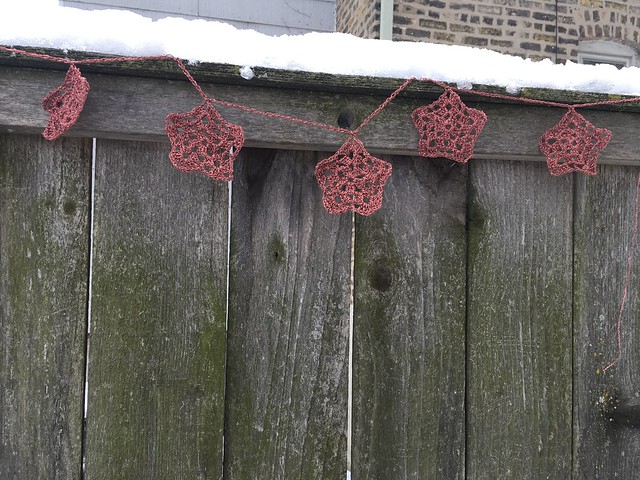
I have one more quick holiday project to share with you over on the Hobium International blog (who supplied the yarn for this tutorial) - click here for step-by-step instructions to crochet this Sparkly Star Garland!
 You can also queue/favorite this pattern here on Ravelry.
Have a great week!
1 skein Kartopu Alpaca Polo in Claret
Several die-cut felt pieces in holiday shapes - I used pre-cut holly leaves/berries and a felt snowflake ornament**
Fabric Glue or Hot Glue
Scissors
Marker
Tapestry needle
Small sandwich plate (the one I used was 8.5 inches in diameter)
Small bowl (the one I used was 4.5 inches in diameter - make sure that you can pass your yarn through an opening of this size)
Cardboard (to fit largest size of plate/bowl)
**A note about the felt pieces: Between now and the time I was planning this project a few months ago, the place where I sourced these felt elements has discontinued making them. Bummer, right? After a quick google, I did find a few promising places to check out, though it should be noted that I have not used any of their items or shopped their site, so I can't speak to the quality/customer service of any of these businesses. Busy Little Bird has several holiday-ish shapes (snowflakes, holly (some assembly required), reindeer, and Christmas lights. Craft Dept. also has several options (snowflakes, ornaments, Santas, etc.).
Directions:
1. Use plate and bowl to trace wreath shape with marker.
3. Begin wrapping yarn around the cardboard, positioning starter tail like so:
5. When you get to the end, cut a long tail, and then thread on a large blunt tipped tapestry needle.
8. Cut yarn end. Now it's time for the fun part! Position your felt pieces wherever you'd like them, then glue on with fabric glue (or hot glue, if preferred). I used the snowflake ornament to also double as a hanger at the top!
Tip: I used a LOT of fabric glue (as in, way more than I thought was necessary) and then applied gentle pressure for about 30 seconds for each piece.
9. Allow to dry overnight under a heavy book.
10. Hang and enjoy!
If you like this tutorial, don't forget to pin it to Pinterest!
I have one more quick holiday project to share with you over on the Hobium International blog (who supplied the yarn for this tutorial) - click here for step-by-step instructions to crochet this Sparkly Star Garland!
Have a great week!
Comments
Post a Comment